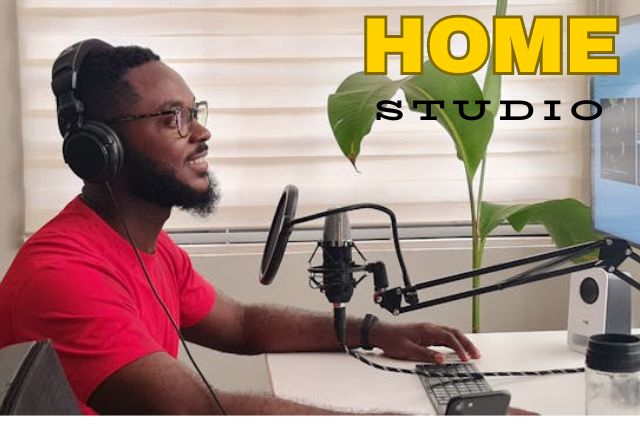
Home Studio
Creating the perfect home studio in Kenya is easier than ever before, thanks to advancements in technology and the availability of affordable equipment.
Whether you’re an aspiring musician, podcaster, or content creator, a well-designed home studio allows you to produce high-quality recordings from the comfort of your home. With the right gear and setup, you can turn any room into a professional-grade recording space.
This guide will walk you through the essential steps to create your perfect home studio in Kenya, covering key elements such as choosing the right location, essential equipment, and acoustics.
How to Create the Perfect Home Studio
1. Choosing the Right Location for Your Home Studio
The first step in building the perfect home studio is selecting an ideal location. In Kenya, where urban spaces can be noisy, it’s important to choose a room that is quiet and away from distractions. Ideally, your home studio should be set up in a space that has minimal outside noise interference. Rooms that are far from street noise, loud neighbors, or household distractions (like the kitchen or living room) are best suited for this.
A spare bedroom, office, or even a converted garage can work well for a home studio. The key here is to have a controlled environment where you can focus on recording without interruptions. If noise is an issue, consider investing in soundproofing solutions, which we will discuss later.
2. Acoustic Treatment and Soundproofing
Acoustics play a crucial role in ensuring high-quality recordings. Kenya’s bustling environment might mean dealing with outside noise, but with the right acoustic treatment, you can manage this effectively. Acoustic treatment focuses on controlling the way sound behaves in a room, while soundproofing prevents external noises from entering your recording space.
The Acoustic Treatment
Acoustic panels are essential for reducing echoes and reverb in your studio. Echoes and excessive reverb can ruin recordings, making your audio sound unprofessional. You can purchase acoustic panels from stores like Home Sense or West Elm, or even make DIY versions with materials such as foam or fabric. Position these panels on your walls, particularly in areas where sound tends to bounce, like corners and flat surfaces.
Bass traps are also important for managing low frequencies. These can be installed in the corners of your room, ensuring that your recordings capture a balanced and clear sound.
Soundproofing
To soundproof your studio, focus on isolating the room from outside noise. This can be done by sealing gaps in windows and doors with weatherstrips, adding heavy curtains, or using soundproof foam mats on the floor. If you have the budget, you can invest in double-glazed windows or solid-core doors to further reduce noise.
3. Essential Equipment for Your Home Studio
Creating a home studio requires investing in some basic equipment to get started. Here’s a breakdown of the essential items you need:
3.1 Audio Interface
An audio interface is the heart of any home studio. It allows you to connect your microphones and instruments to your computer, ensuring that the sound you capture is converted into digital audio. The Yamaha HS8 is a popular choice for home studios, known for its high-quality sound output. Another great option is the Focusrite Scarlett 2i2, which is user-friendly and affordable, making it perfect for beginners.
3.2 Microphone
The microphone is one of the most important pieces of equipment in your home studio. For vocal and instrument recording, consider investing in a high-quality condenser microphone like the Rode NT1. Condenser microphones capture detailed audio, making them ideal for recording vocals, podcasts, and acoustic instruments.
If you’re working with a limited budget, there are more affordable options such as the Audio-Technica AT2020 or Shure SM58, both of which deliver excellent sound quality at a lower price point.
3.3 Studio Monitors and Headphones
For accurate sound reproduction, studio monitors are essential. The Yamaha HS5 and Yamaha HS8 are popular choices among professionals and home studio owners alike. They deliver flat, accurate sound, allowing you to hear your recordings as they truly are, without the coloration that typical consumer speakers may add.
In addition to monitors, a good pair of studio headphones is a must. Look for headphones that offer a flat frequency response, like the Audio-Technica ATH-M50x, to ensure you’re hearing your recordings accurately. Studio headphones are also useful when you’re tracking vocals or instruments to avoid sound bleeding from monitors.
3.4 Computer and Digital Audio Workstation (DAW)
Your computer will act as the hub of your home studio. Make sure it’s powerful enough to handle audio recording and editing tasks. For those on a budget, you can use entry-level laptops or desktops, but ensure they have at least 8GB of RAM and a decent processor. You’ll also need a Digital Audio Workstation (DAW) to record and edit your tracks. Popular DAWs include FL Studio, Ableton Live, and Pro Tools. These software platforms offer a wide range of features that will help you produce professional-level recordings.
3.5 Additional Gear
Depending on your needs, you may also want to add more specialized equipment to your setup:
- MIDI Keyboard: If you’re producing music, a MIDI keyboard is an excellent tool for composing and creating beats. Look for compact options like the Akai MPK Mini for a space-efficient solution.
- Pop Filter: A pop filter is an inexpensive tool that helps reduce plosive sounds (like “p” and “b” sounds) in your recordings.
- Cables and Stands: Invest in durable XLR cables and microphone stands to ensure you have a stable setup.
4. Organizing Your Studio Space
Once you’ve gathered your equipment, the next step is organizing your studio space. Keep your studio neat and clutter-free to improve your workflow. Use cable organizers to avoid tangled cords, and invest in shelves or stands to keep your equipment accessible. Furniture from retailers like Wayfair can help you create a functional and aesthetically pleasing workspace.
Consider adding mood lighting to enhance your creative atmosphere. LED strip lights are affordable and can be easily installed to give your studio a professional look.
5. Optimizing Your Workflow
Finally, once your studio is set up, you’ll want to optimize your workflow. Invest time in learning your DAW, setting up templates, and organizing your files so you can start recording quickly. Having a dedicated space for everything from microphones to monitors will ensure that you can produce high-quality content efficiently.
Final Thoughts
Building the perfect home studio in Kenya is entirely achievable, whether you’re a beginner or a professional. With the right location, acoustic treatment, and essential equipment like the Yamaha HS8 or Rode NT1, you can create a space that meets all your recording needs. By investing in the right tools and optimizing your space for workflow and sound quality, you’ll be well on your way to producing professional-level content from the comfort of your home.